Making Your First OpenNotebook Worksheet
In this tutorial you will learn to create a simple worksheet with OpenNotebook, a free and Open Source application for designing math materials. In this tutorial we will be creating a worksheet for students to practice interpreting linear graphs. To download the application click the download link above. The application requires an up to date install of Java
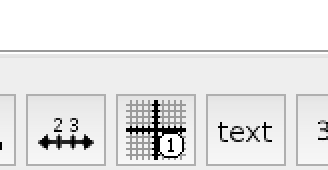
To begin, you'll add a graph to your document. Find the button on the bottom toolbar that looks like a grid. Click on it and you will see a little number "1" appear on the button. This allows you to place a single graph on the document. Try clicking and dragging on the document to place your graph. If you want to place several graphs, you can click the button twice and you will see a little lock. While the lock is shown, any time you click and drag on the document it will add a new graph. To get rid of the lock after you are done placing graphs, just click the button again.
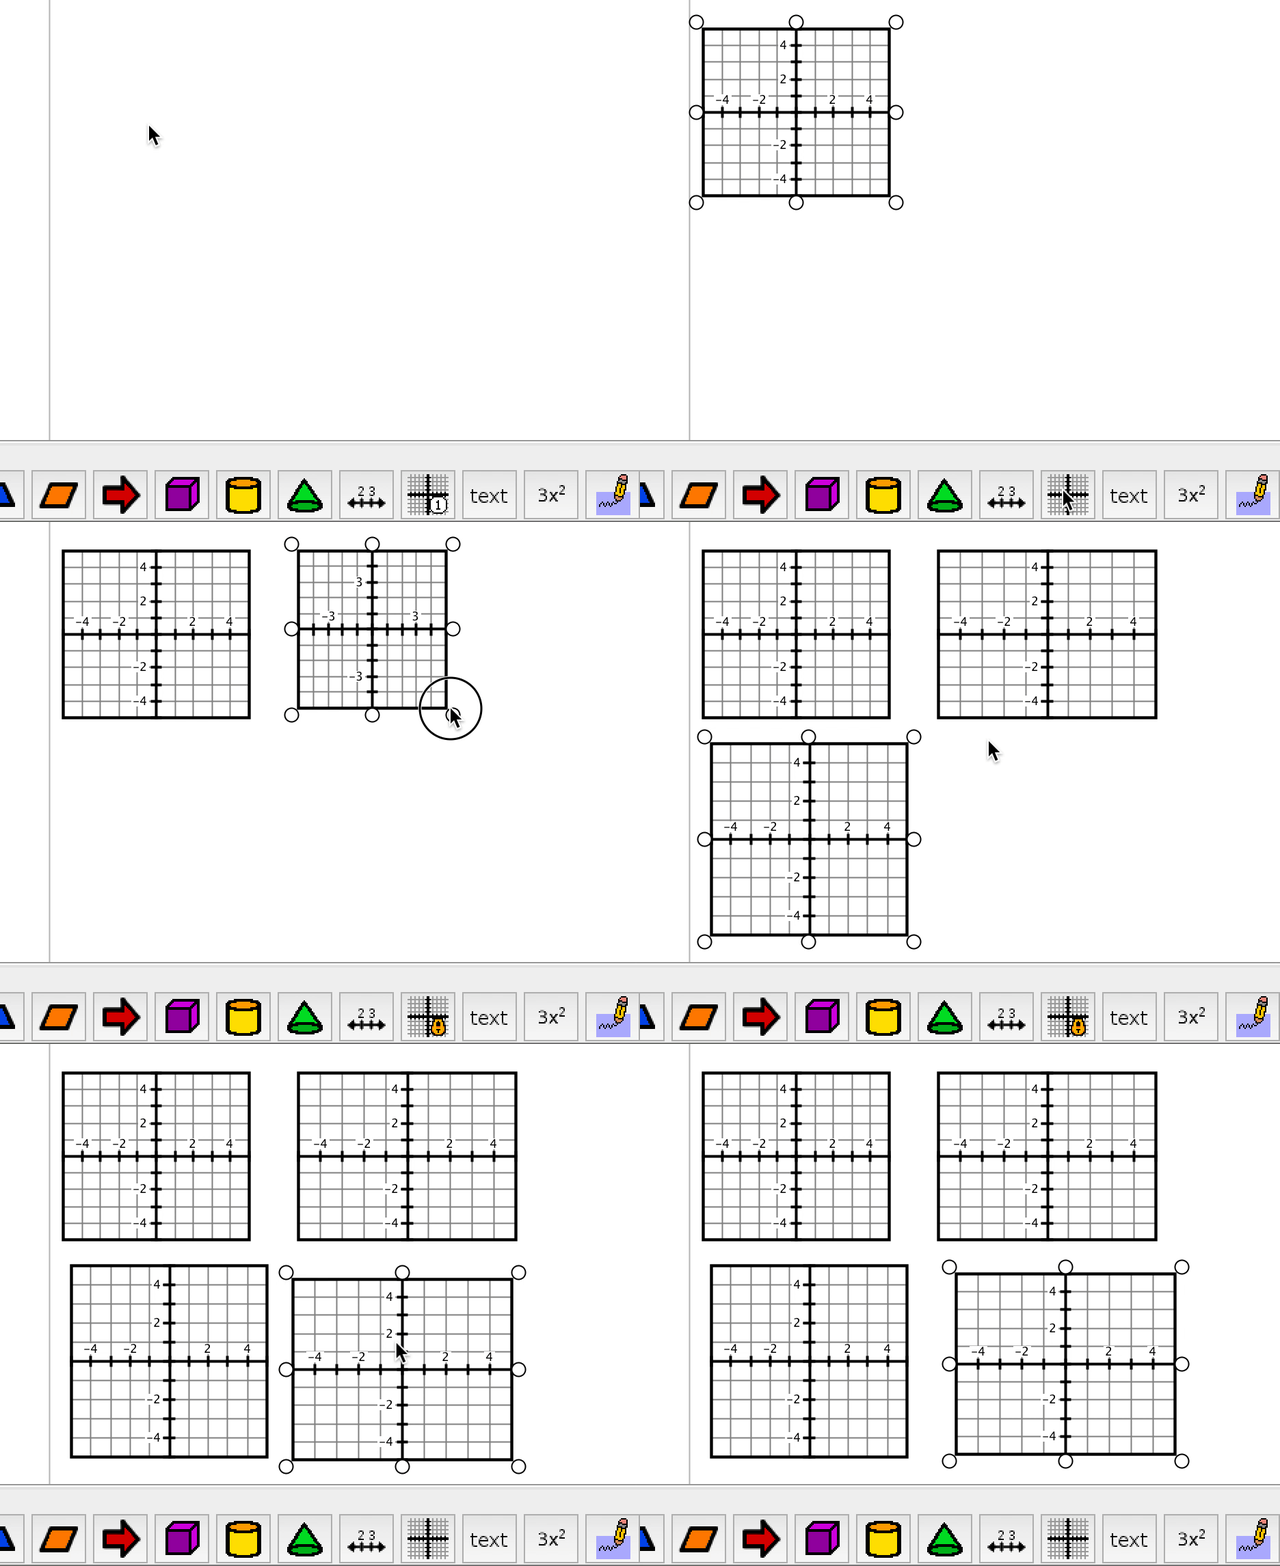
If you make a change you want to revert, use the orange and green arrows on the top menu bar for undo/redo. Use undo/redo, or the trash can to get rid of all of the graphs but one. The lock feature to create multiple objects is useful in some cases, but here you'll want the graphs to be the same size/shape to make the document look professional. We'll cover better ways to do that below.
Next you can make sure your grid is square so it will be easy to align after we copy it. To accomplish this we are going to use the window that popped up when you added your graph. This will pop up any time you add a new element to your document, or click on an existing one to select it.
Look at the buttons on this menu to find the one with a black square on it. Click the button to make the height and width of your graph equal.
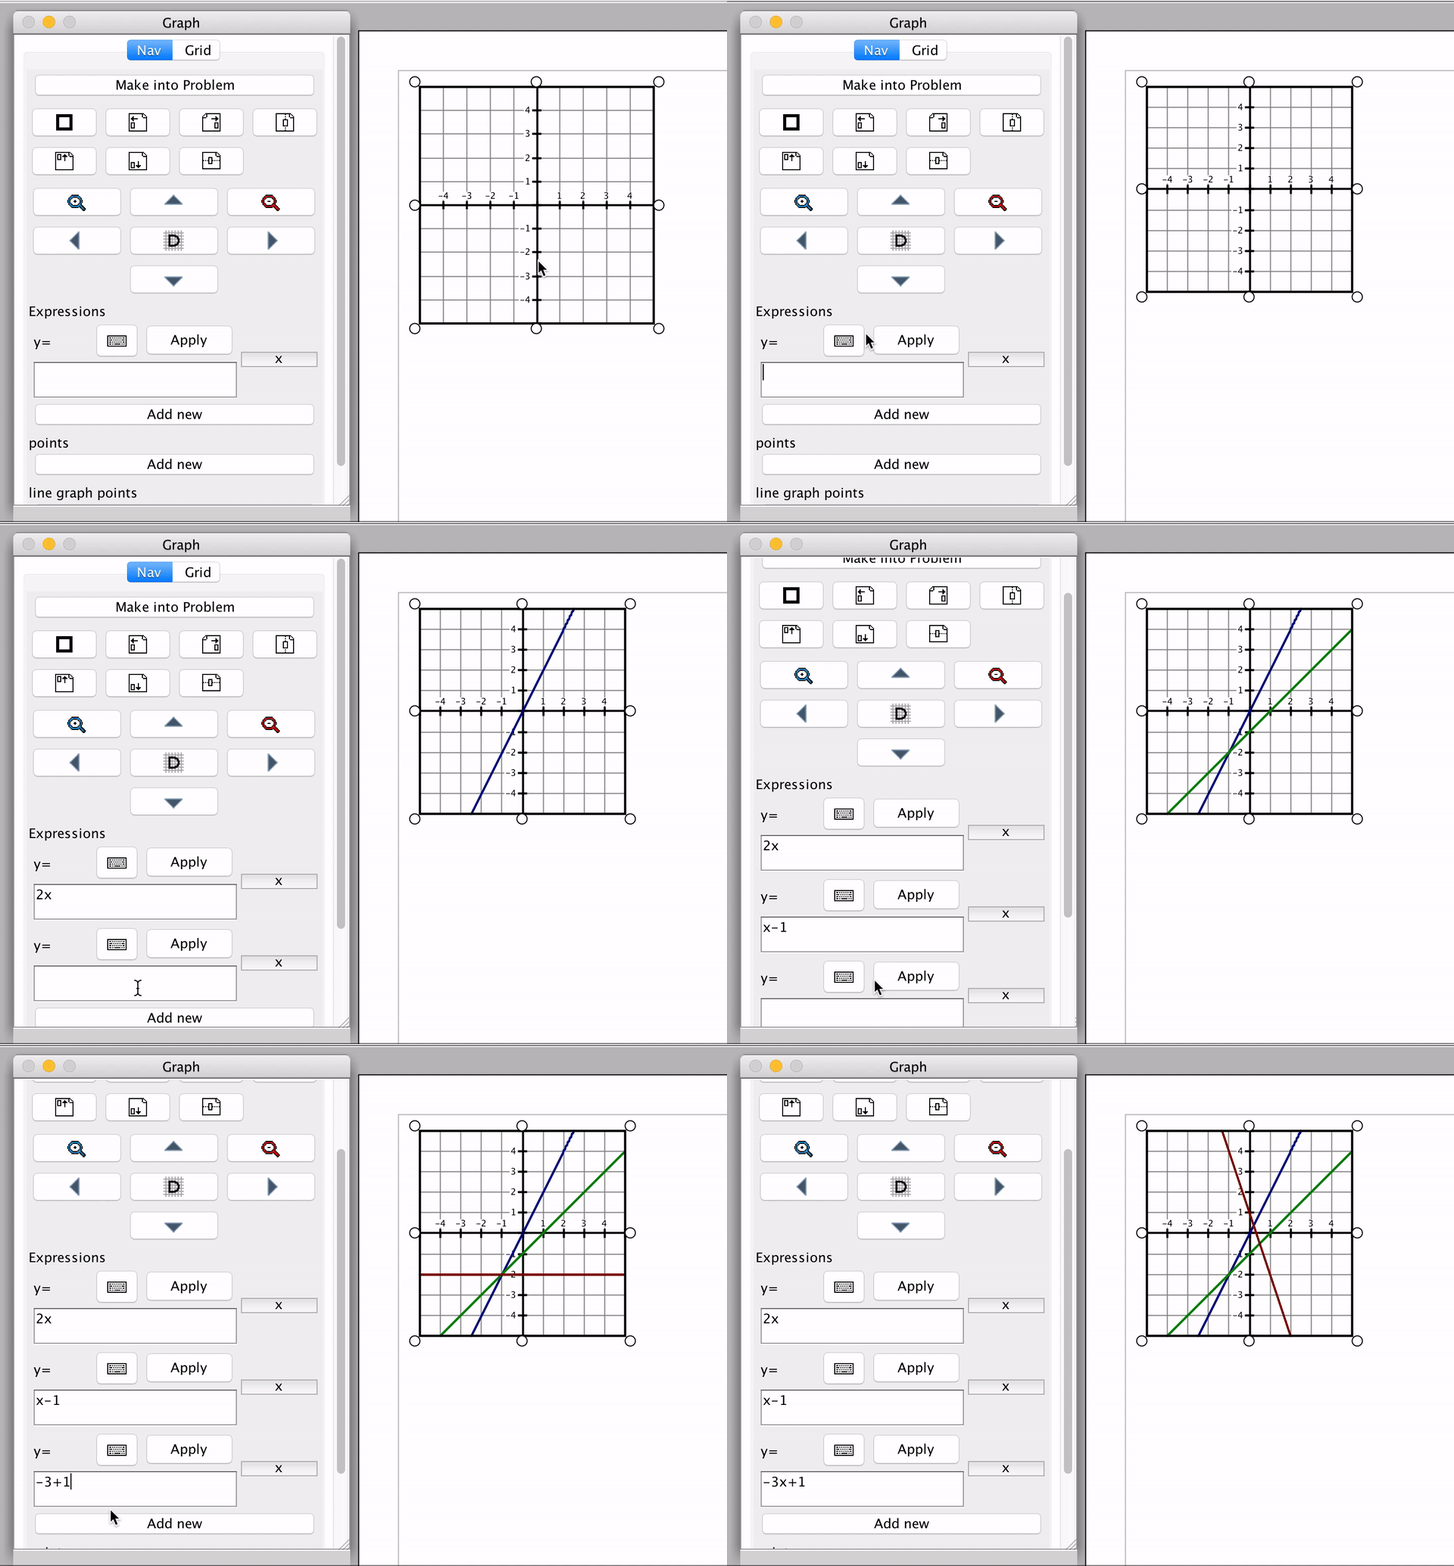
Now let's actually graph an equation on your grid. On the menu for the graph, click on the text box under the label "Expressions". Here you can simply provide the right hand side of the equation you want graphed, the application will add y= for you. If you want to graph more than one equation on a single graph, click the "Add new" button.
Now that you have a good template for each problem, a square grid with one or more equation graphed on it, let's make some copies to fill up your document. The software comes with some pretty powerful features for moving and aligning groups of objects. These are easiest to show them in action, rather than describe them. The rest of the tutorial is provided as a video (instead of an animation like the ones above) so you can pause it.
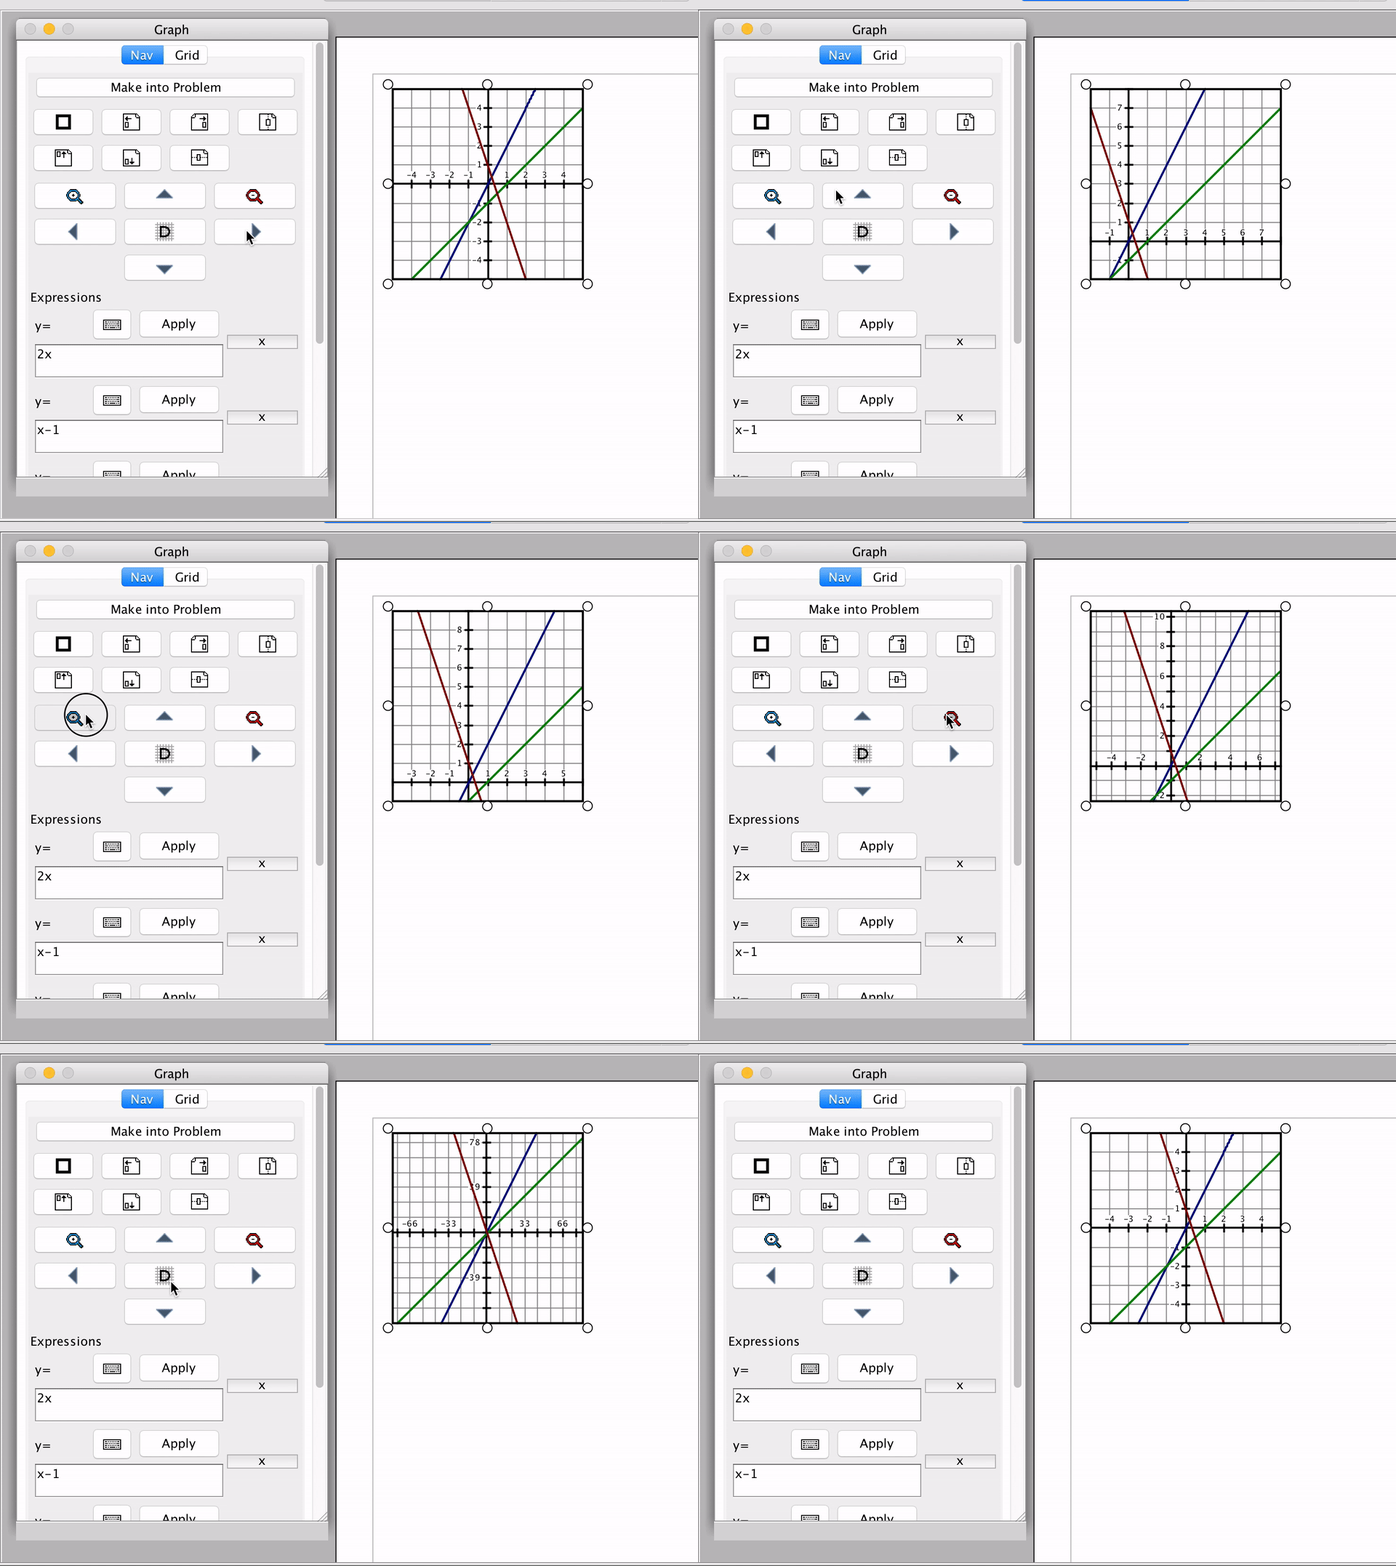
If you want to include a line that is outside of the default view of the grid, use the arrows and magnifying glass buttons on the grid to adjust what is shown.
This concludes the tutorial, you have successfully created your first Open Notebook worksheet. There are still lots of features left to learn, please check back as we will be posting more tutorials soon. If you can't wait, the application comes bundled with some documents that explain how to use most of the features in the application. They can be found by clicking the button at the top labeled "Tutorials/Samples".
Thanks for your support of our project, please remember to share it with your collages and social networks!